How to Fertilize Your Houseplants
for Bloomscape
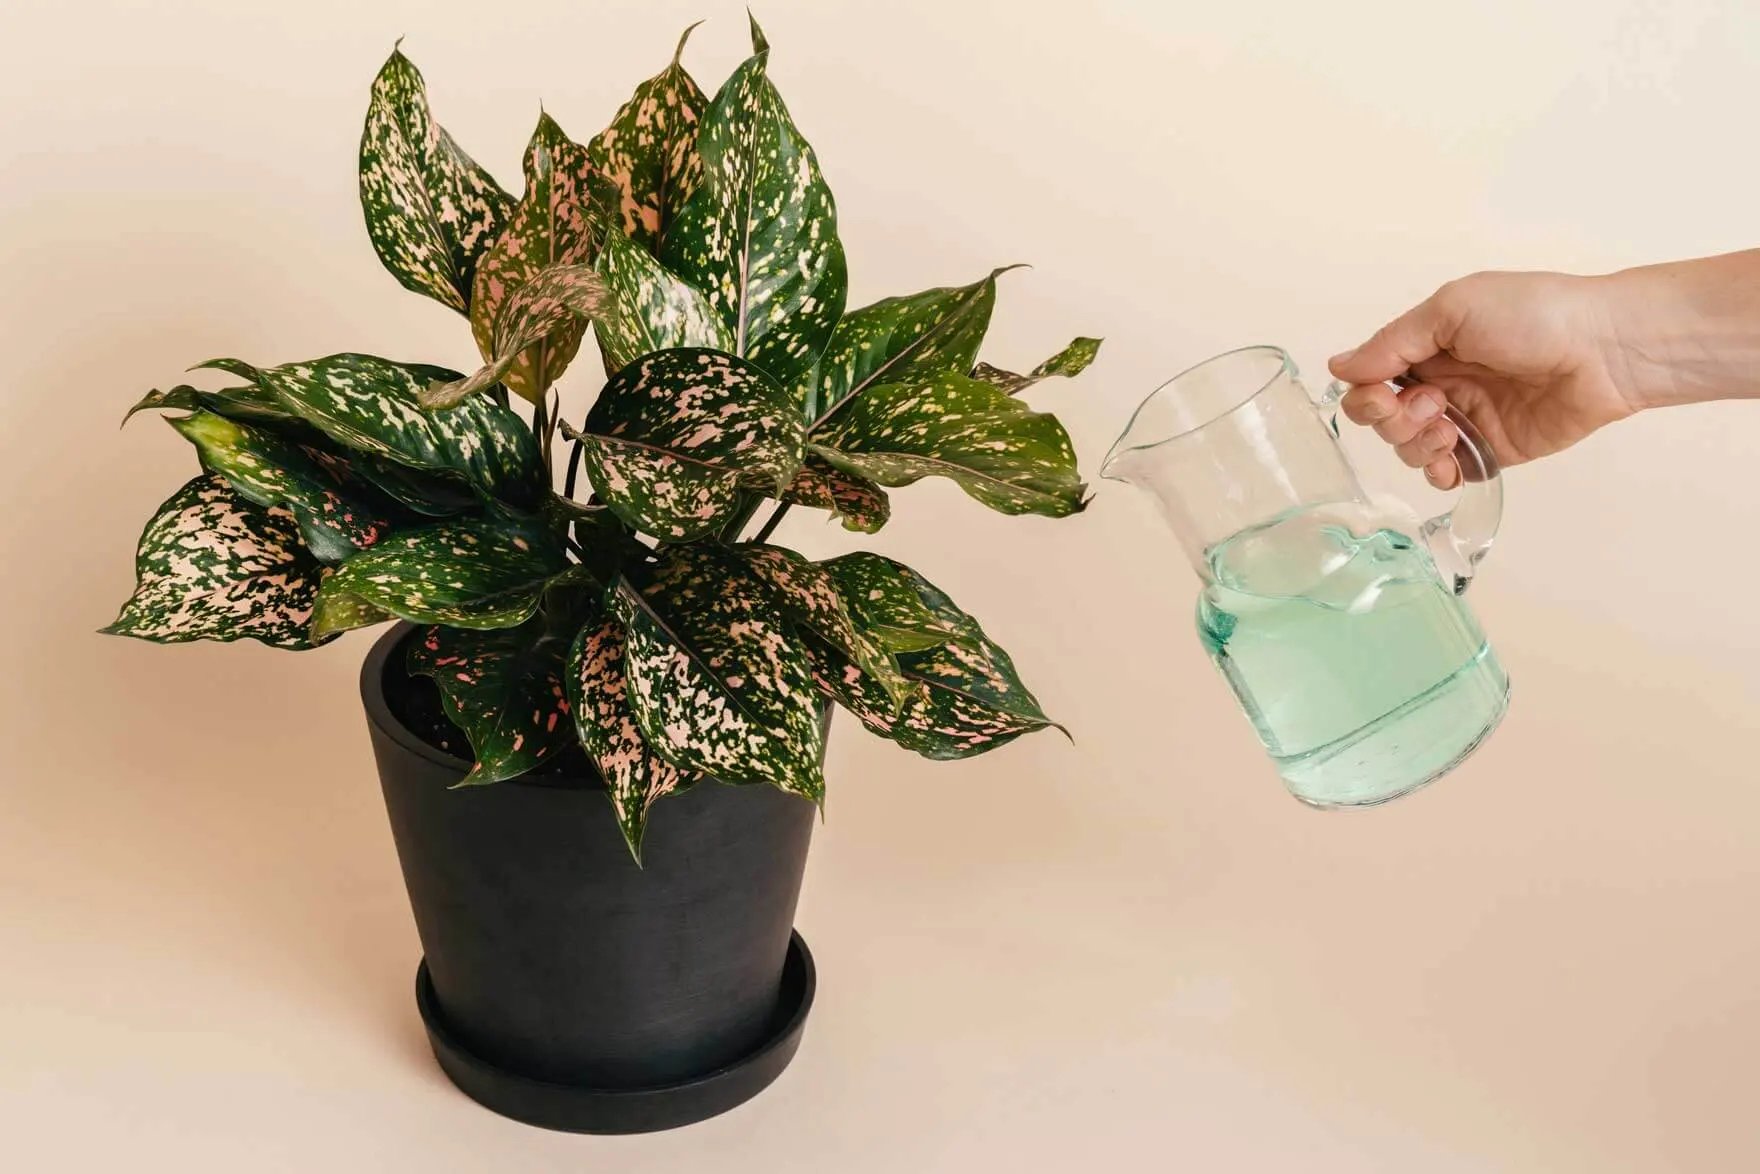
Fertilizing your indoor plants in the spring and summer promotes growth and to gives your plants a boost of nutrients. It is best to fertilize during this time when your plant is in its natural growth phase. Follow Plant Mom'‘s step-by-step guide to fertilizing your indoor plants.
Gather your supplies
To fertilize your houseplants, you will need a watering can, water, and an all-purpose fertilizer.
Step 1: Remove dead and discolored leaves
Trim and remove dead or dying leaves from your plant with sharp scissors or pruning shears, wiping with rubbing alcohol between each snip. This will help the plant send energy to the healthiest leaves, as yellow and brown crispy leaves will not turn green again. Gently remove fallen leaves from the soil to ensure even distribution of the fertilizing liquid.
Step 2: Water thoroughly
Never apply fertilizer to dry soil. It’s important that the soil is evenly moist before adding the fertilizing liquid. This helps the plant more evenly absorb the the nutrients and avoids shocking or burning the root system. Water your plant until liquid drips from the pot into the saucer. Be sure to discard any water left in the saucer after the pot is done dripping. Plant Mom recommends watering a day or two before you’d like to fertilize so your plant’s roots are fully hydrated.
Step 3: Prepare fertilizer
Whether your fertilizer is liquid concentrate or powder, we’ll be diluting it in water. Prepare your dilution according to the directions on the label of your fertilizer, as over-fertilizing can lead to damaged root systems, burned leaf tips, and stunted growth.
Step 4: Add fertilizer to soil
Carefully and evenly pour your fertilizer solution over the top of the soil, allowing it to absorb into the soil. Continue adding liquid until it begins to drip from the drainage hole into the saucer.
Plant Mom Pro Tip:
If it the potting soil of your plant has completely dried out, it’s important to re-hydrate it before fertilizing. You may notice the soil has pulled away from the edges of the pot or water tends to run right through the soil instead of being absorbed. If this is the case, your plant will benefit from deep watering via the bottom-watering method.
Give your plant a good soak
To bottom-water your plant, fill a sink with 2”-4” of water, depending on the size of your plant. Set the plant in the water without the saucer to allow it to soak up water through the bottom drainage hole. Leave it soaking for 20-30 minutes or until you see the top of the soil getting a moist. Remove the plant from the water and allow excess water to drain from the pot for about 10 minutes. Your plant should feel much heavier after soaking. Finally, place the plant back on the saucer, making sure there is no standing water. Allow your plant to rest and re-hydrate for at least 24 hours before adding fertilizer.
